
Using the CanMV Visual Studio Code Extension#
Overview#
The CanMV for Visual Studio Code extension is recommended for CanMV K230 development. The extension integrates common capabilities such as connecting to the development board, running MicroPython scripts, previewing images, managing device files, viewing terminal output, and browsing examples into Visual Studio Code, making it a suitable daily alternative to the CanMV IDE / OpenMV IDE.
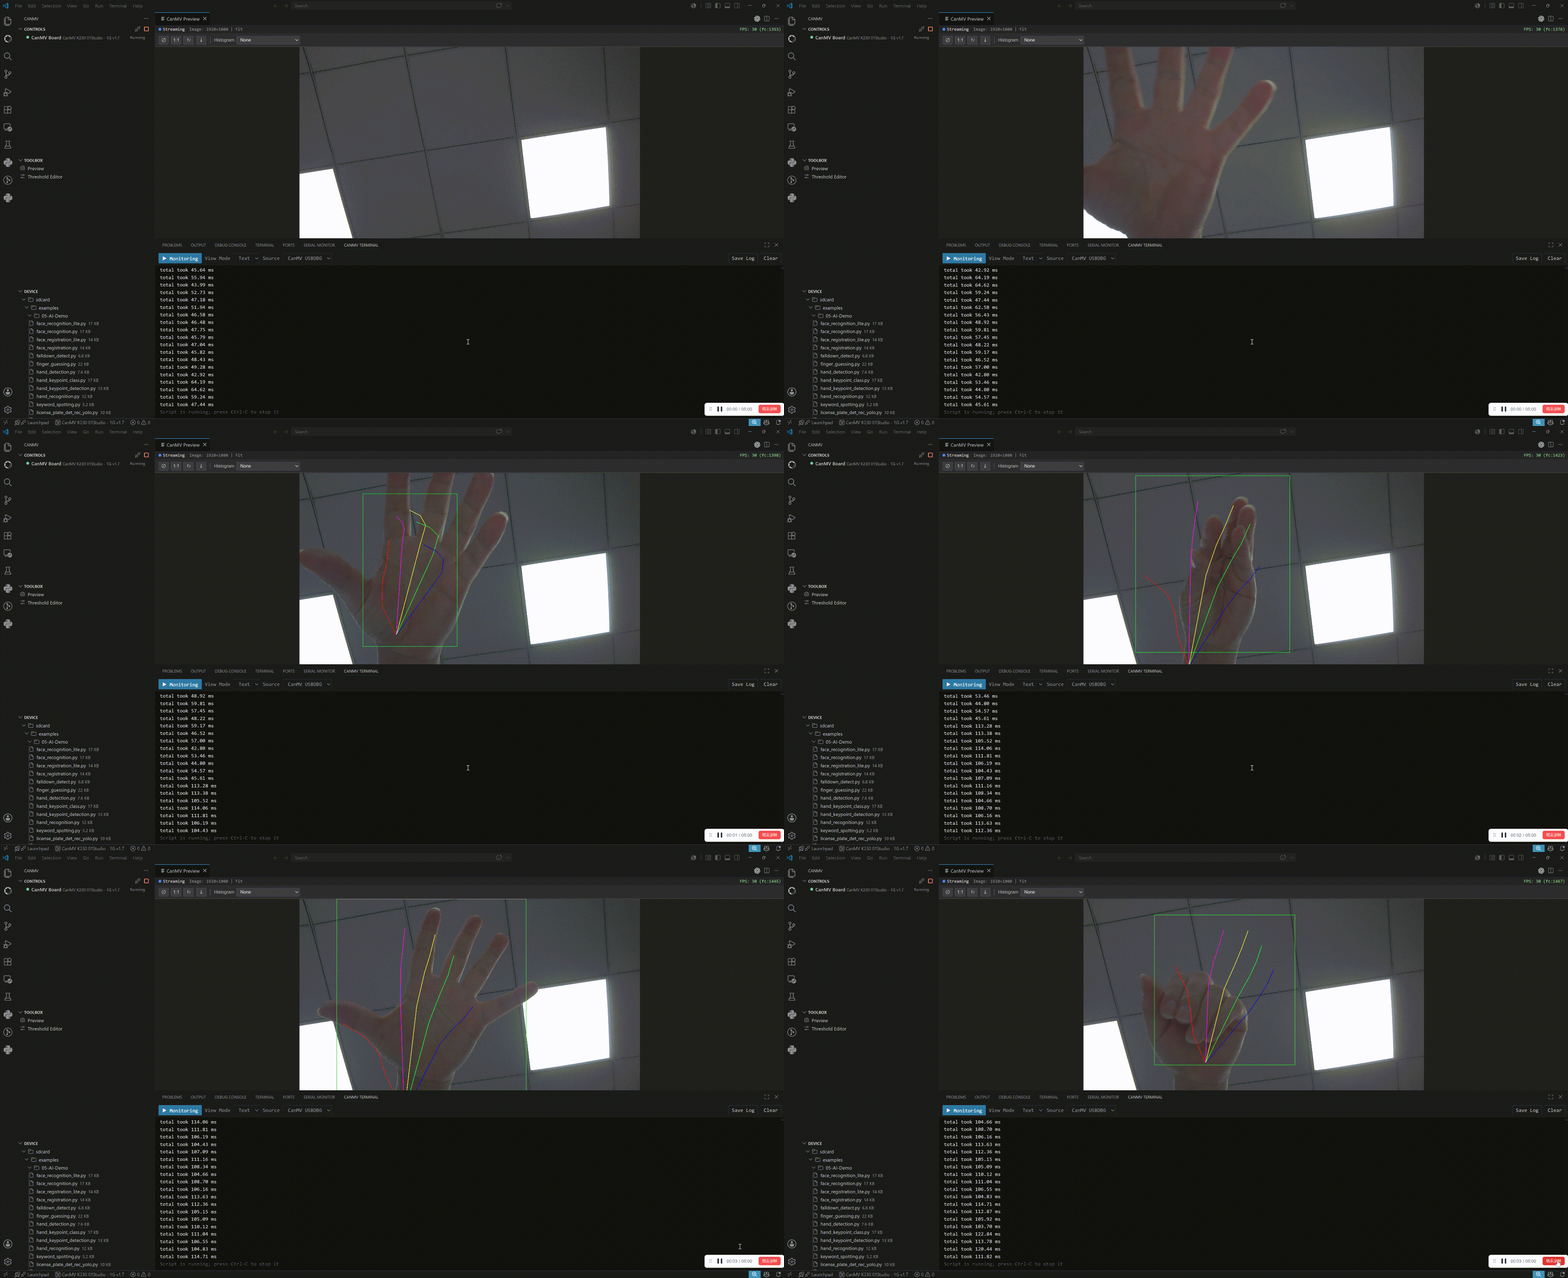
Compared to traditional IDEs, the CanMV extension provides:
Edit, run, and stop scripts in Visual Studio Code.
View output through
CanMV Terminal, and use REPL when no script is running.Browse
/sdcard,/data,/udiskin theDeviceview, and upload, download, edit, and sync files.View IDE frame buffer images through
Preview, with support for screenshots, rotation, pixel reading, ROI histograms, and recording.Download and run official examples matching firmware resources through the
Examplesview.Automatically configure K230 MicroPython stubs to provide code completion and type hints for Pylance.
Note
This document is for users migrating from CanMV IDE / OpenMV IDE to the CanMV Visual Studio Code extension. Before connecting to the development board with the extension, please close the legacy IDE to avoid the serial port being occupied by other programs.
Installing the Extension#
Install Visual Studio Code
1.90.0or later.Search for and install the
CanMVextension in Visual Studio Code’s Extensions view.If using an offline VSIX package, run
Extensions: Install from VSIX...in the Command Palette to install.Pylance will be automatically installed as an extension dependency for Python code analysis.
Extension source code and more details can be found at canmv-vscode-extension.
Connecting to the Development Board#
Connect the CanMV K230 development board to your computer via USB, then perform any of the following in Visual Studio Code:
Open the Command Palette and run
CanMV: 连接开发板.Click the CanMV icon in the sidebar and click the connect button in the
Controlsview.
By default, the extension automatically detects the development board via USB VID/PID 1209:abd1. After a successful connection, the CanMV Activity Bar will show the development board status, the Device view will refresh device files, and the CanMV Terminal panel will show development board output.
If automatic detection fails, configure the following in Visual Studio Code settings:
canmv.serialPath
For example, a common Linux path is /dev/ttyACM0, and a common macOS path is /dev/cu.usbmodem*. After manually setting the serial port, the extension will use canmv.baudRate to connect to the development board.
Running Python Code#
After opening a Python file, you can run it in the following ways:
Run
CanMV: 运行当前 Python 脚本from the Command Palette.Use the run button in the upper right corner of the editor.
Select
CanMV: 在 K230 上运行当前文件from the editor’s right-click menu.
When the script is running, CanMV Terminal will display the script output, and the run button will switch to the stop state. To interrupt the script, run CanMV: 停止脚本, or press Ctrl-C in CanMV Terminal.
Previewing Images#
Open Preview from the Toolbox in the CanMV Activity Bar, or run CanMV: 启用预览 from the Command Palette. When the script outputs images to the IDE frame buffer, the extension displays the live view in the preview window.
Image preview code originally used in CanMV IDE can continue to be used, for example:
Display.init(..., to_ide=True)synchronizes display output to the IDE frame buffer.Calling
compress_for_ide()on animageobject sends the specified image to the IDE frame buffer.
The Preview tool supports fit to window, original size, rotation, save PNG, pixel RGB reading, FPS display, ROI histogram, RGB/grayscale/LAB/YUV histogram, video recording, and virtual touch when supported by firmware.
Managing Development Board Files#
After connecting to the development board, open the Device view in the CanMV Activity Bar to manage device files. Common operations include:
Expand mounted directories such as
/sdcard,/data,/udisk.Create new files or folders.
Upload local files or folders.
Download, rename, or delete device files.
Open Python files on the device; saving after editing will automatically sync back to the development board.
If you need to set up a startup script, select from the editor’s right-click menu:
CanMV: 另存为 main.py, to write the current file to/sdcard/main.py.CanMV: 另存为 boot.py, to write the current file to/sdcard/boot.py.
Using Examples and Code Hints#
The extension downloads matching examples and K230 MicroPython stubs based on the firmware resource manifest. After connecting to the development board, you can open the Examples view in the CanMV Activity Bar to browse official examples.
Common operations include:
Run
CanMV: 刷新示例to download or update the example cache.Open an example from the
Examplesview; the extension opens it as an editable unsaved file to avoid modifying the local cache.Right-click a Python example and select run to execute it directly on the connected development board.
The example cache is located at:
~/.kendryte/k230_canmv_examples/<examples-id>
The stubs cache is located at:
~/.kendryte/k230_canmv_stubs/<firmware-revision>
The extension writes the current stubs path to python.analysis.extraPaths so that Pylance can provide more accurate completion and diagnostics.
Migrating from CanMV IDE#
CanMV IDE / OpenMV IDE Action |
Corresponding Action in CanMV Visual Studio Code Extension |
|---|---|
Click the connect button in the lower left corner |
Run |
Open a local Python file and run |
After opening the file, run |
Click the stop button |
Run |
View serial port output |
Open the |
Save as |
Right-click the editor and select |
Save files to the development board |
Upload files in the |
Browse development board files |
Use the |
Open example programs |
Use the |
View the IDE image window |
Open the |
Use the threshold editor |
Open |
Frequently Asked Questions#
Unable to Connect to the Development Board#
Confirm that the USB cable supports data transfer, the development board is properly powered on, and close any other software that may occupy the serial port. Linux users also need to confirm that the current user has serial port access permissions. If automatic detection still fails, manually set canmv.serialPath.
No Image in the Preview Window#
Confirm that the script is running and that the script outputs images to the IDE frame buffer, for example using Display.init(..., to_ide=True) or compress_for_ide(). If the script is running but still no image appears, open the CanMV output channel to view preview and backend logs.
Device Files Cannot Be Displayed#
First confirm that the development board is connected and in the ready state, then run CanMV: 刷新资源管理器. If the firmware version is too old or does not support remote file capabilities, please update to a newer CanMV K230 firmware.